How to Tie Dye a Bucket Hat
Introduction
Tie-dye is an ancient art form which has provided people colourful and one-off alternatives for clothes everyday purposes, customised just as each individual prefers. Customized Bucket Hat One of the trendiest ways to add tie-dye print in your wardrobe nowadays is a customized denim bucket hat. Bucket Hats — Practical and stylish with a large surface area to work on for this project Whether you are a novice or proficient creator, tie-dying your bucket hat is an easy and enjoyable process that allows to unleash your creativity. In this how-to guide, we take you through every step of creating your new bucket hat—from choosing fabrics and patterns to actual application for the ultimate personalized design. Ready to get started? Jump into the world of tie-dye and let your creativity fly!
Materials You’ll Need
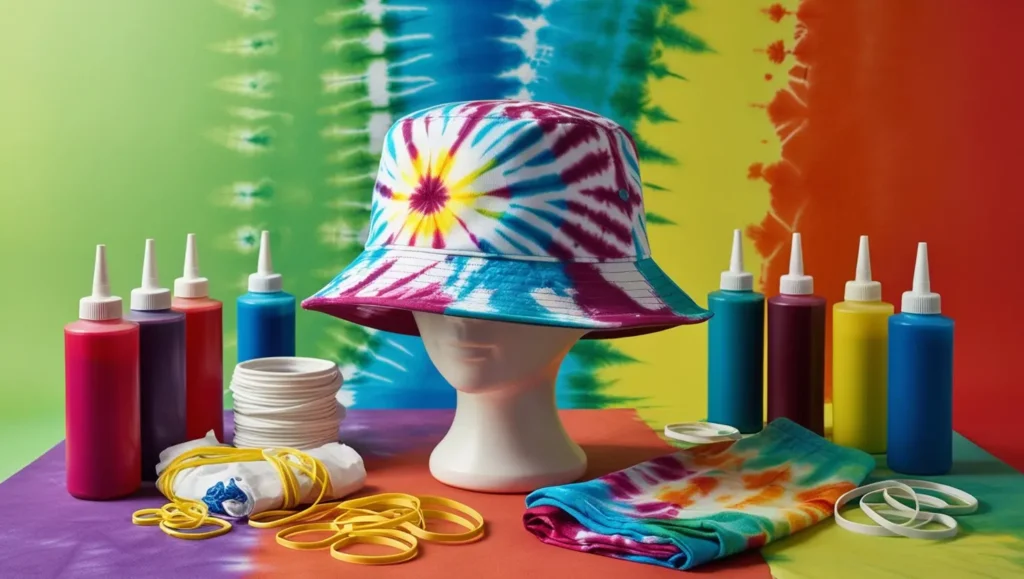
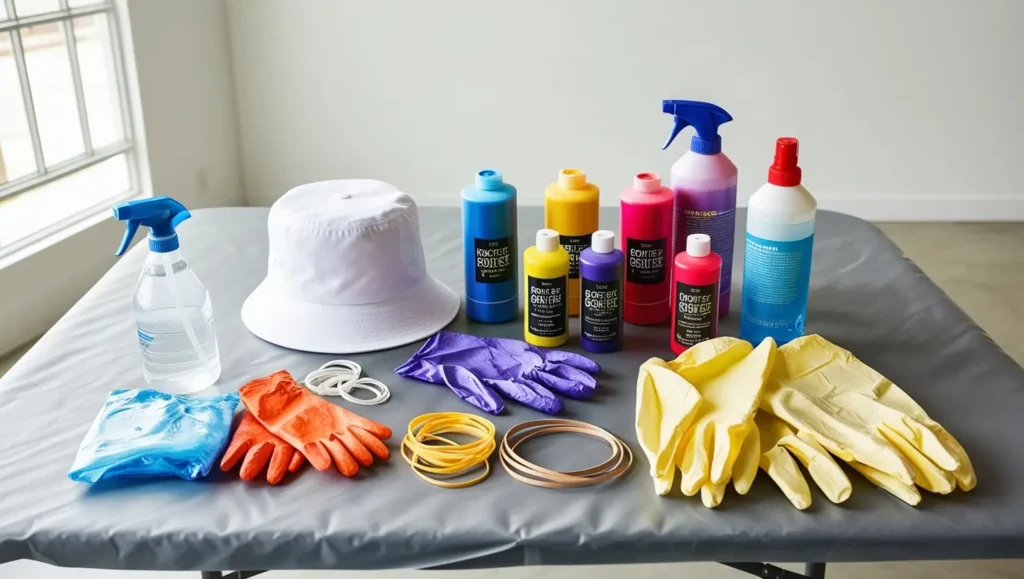
After all, without the right necessities to get you through your tie-dye project then forget about getting any kind of color other than muted tones and fading shortly afterwards. What you need to make a groovy tie-dye bucket hat:
- Cotton Bucket Hat: If white, this is the best place to start as it takes dye well.
- For Tie Dye Kit: includes dye bottles, rubber bands & gloves You can buy pre-mixed shades or purchase dye powder and mix the colors at home.
If you have drop cloths, laying them down before beginning is also helpful to keep the floors from being stained (and can protect other surfaces too!) A plastic table cover could help as well so that any drips are easy clean-ups.
- Plastic Bags or Ziplock Bags — Wrap the hat to set the dye while keeping it damp not dry
- Spray Bottle of Water — Wetting down your hat can make the dye absorb more evenly if you want it to look like that.
- Rags or Paper Towels – It is a great idea to be prepared when wiping away excess dye and maintaining clean work area.
- Buckets or plastic bowls – Optional, but good for soaking the hat after paint removal and to mix custom colors.
This way you perform the process seamlessly and avoid any mess. NIW Tie Dye Kit For all methods of tie-dying we are about to discuss, this is the only set we used.
Preparing Your Bucket Hat
Before you even think about tie-dyeing, make sure to properly prepare your clothing item so that the dye absorbs evenly and your colors stay bright wash after wash.
- Pre-Wash the Hat – You should wash your bucket hat to remove any chemicals or newly collected dirt. Do not use fabric softener-it creates a barrier, making the dye more difficult to absorb. After washing, you simply dampen the hat to pre-wet the fabric (the dye will flow more easily and smoothly when applied).
- Prepare Your Work Space – Tie-dye is messy, so use a plastic table cover or garbage bags to protect your work surface. This is also the moment when you wear gloves to keep your hands free of spots.
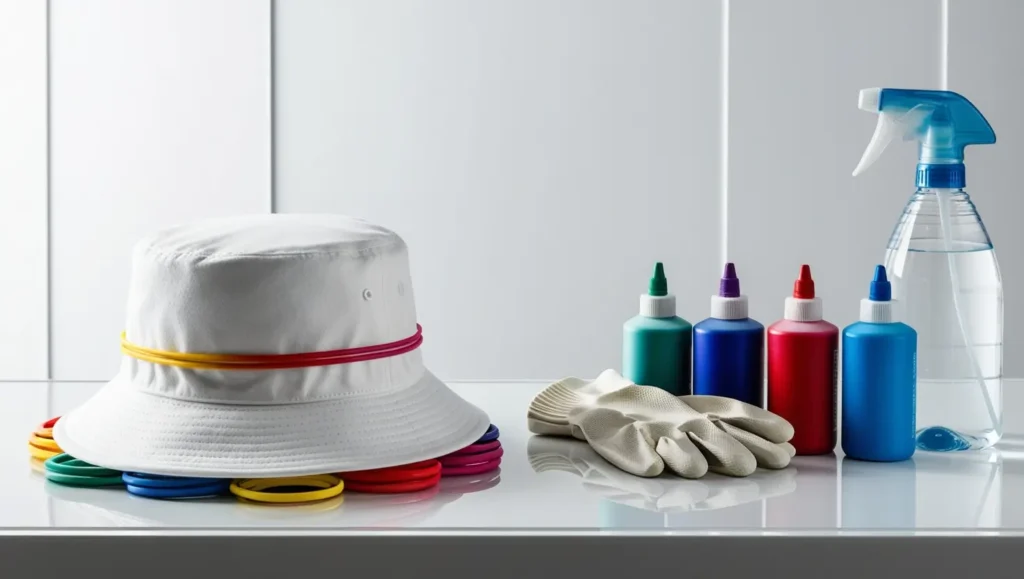
- Pick Your Method – Discover the tie-dye method you are interested in (twist, crumple or a pattern with lines). Follow your design using rubber bands to bind the hat into sections. This will yield different results with each method so select the one you like that suits your style best.
- Pre-Soak If You Fancy – For even brighter colors, you can pre-soak the hat in a soda ash solution (if found inside your tie-dye kit) for 10 minutes. (Note: the last step is optional, but it really helps to retile the color and especially in cotton or blend hats) Wring out the excess water into a different bowl, but leave enough in to have your hat damp for dyeing.
These preparation steps will help create a great foundation for your tie-dye design and allow you to achieve bright, bold results.
Choosing Your Tie-Dye Style
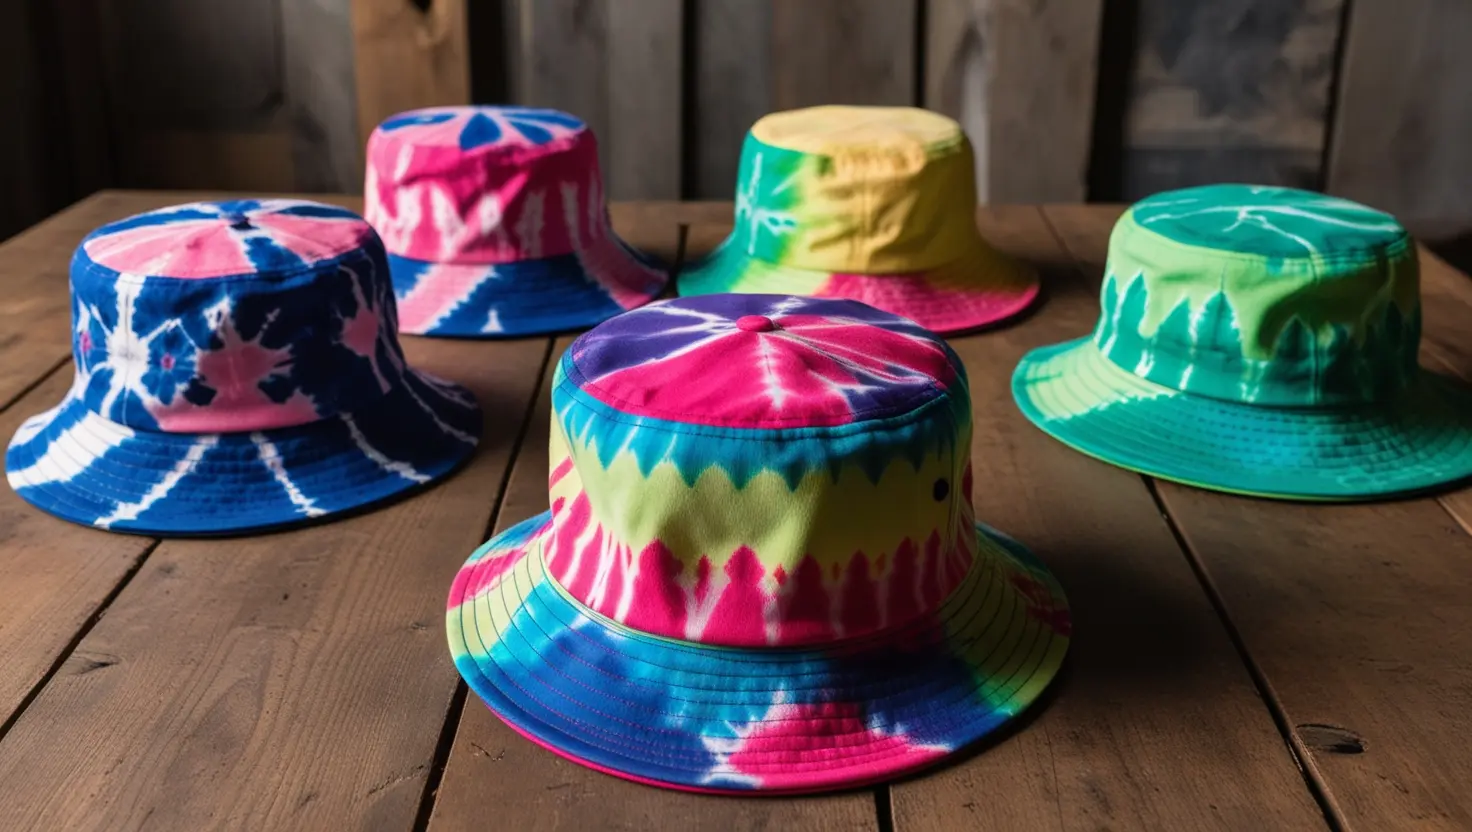
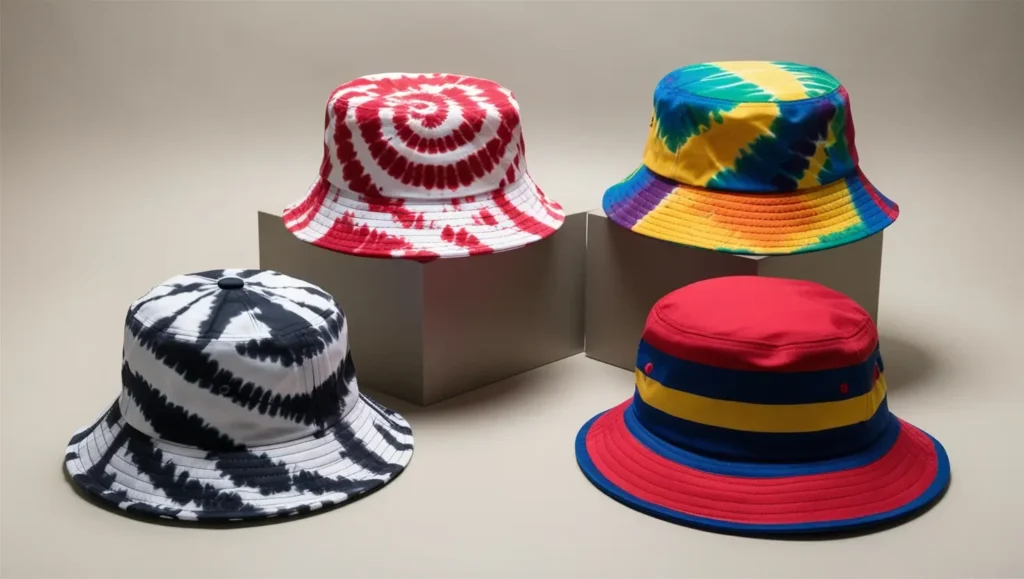
A fun part of tie-dying is deciding on your pattern and depending on what it ends up as, you might like how other techniques will look with the same before being different in end. Different tie-dyeing techniques create different looks, so you might want to know what are the most common ways and try them on your bucket hat:
1. Solid Spiral — The spiral is a classic tie-dye pattern and will create an incredible, swirling blend of different hues. To achieve that, grab the center of the hat’s crown and twist it to a spiral. Secure that criss-crossed with rubber bands in the opposite direction to help maintain its shape. This is especially potent with a more vibrant color, but in some cases where you do it right can give nice results for any other project.
2. Textured – Crumple technique for a slightly more random, textured appearance, use the crumple method. Pack the hat into a ball shape held in place by rubber bands, and randomly distribute dye on the outside. A great style for a relaxed casual look that often results in more subtle, melded colours.
3. Stripes – To get stripes, roll the hat lengthwise and put rubber bands at regular intervals. Go with a bold, high-contrast single color in each section or blend different colors for an even more mysterious stripe. Luckily, this technique gives the hat a clean shape and seems to leave no mark behind.
4. Color Block – A union of one or more sections dyed in contrasting color on the same hat Do try this technique if you lean towards minimalism and want colour, without too much of blending.
Choose a method based on what your personal style is in order to get a bucket hat that looks different everywhere.
Applying the Dye
After that, applying the dye to your bucket hat based on whatever tie-dye pattern you have decided. Here are some simple steps for vibrant even results :
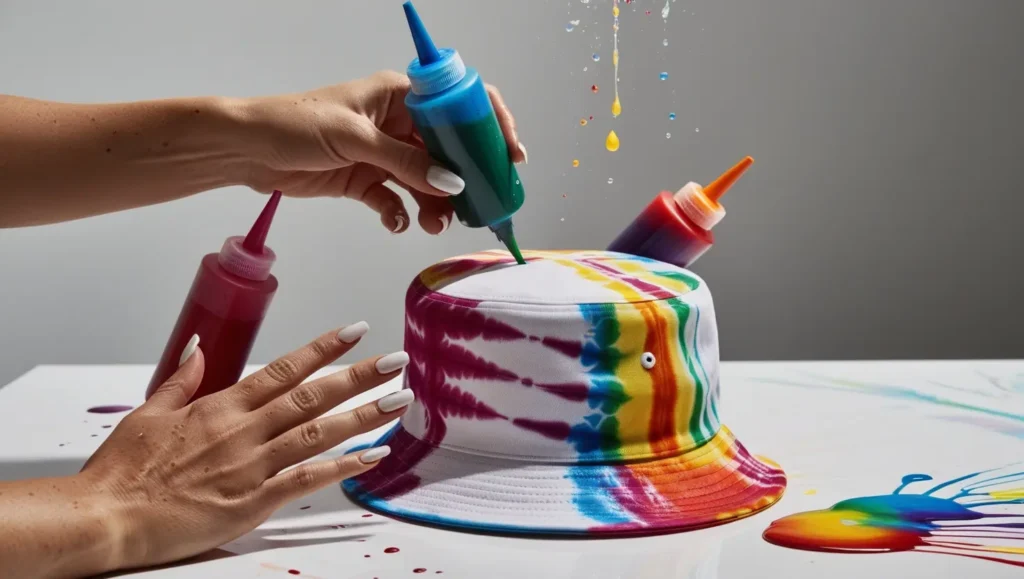
1. Mix Up Your Dye: Mix your dye according to package instructions. Dissolve the powder by adding warm water (this will also help dissolve colors) and please make sure to shake stir well, so no lumps of undissolved powder remain. If you do use more than one color, create the colors in differet queue bottles.
2. Dye – Using one color at a time, apply the dye to your design. Use plenty of dye — thick fabric needs a lot to be fully saturated. On the other hand, when using multiple colors separate it out a wee-bit to keep bleeding down. Dye both sides cause it looks better.
3. Carefully Blend – Gently if desired, press with your finger where the colors meet to blend them into on rightness_off! If you like the colours touching but defined, apply each shade more carefully and keep sections neat.
4. After the Dye – Also, after you have dyed it then just stick this in a plastic bag (or wrap) so that those dye really set. This keeps the fabric wet, allowing more dye to penetrate. Leave it to sit for at least 6-8 hours, or overnight if you want deeper colors.
5. Rinse and Wash – Once the dye has set, thoroughly rinse it under cold water until clear. This copper and helps our colors are vibrant Remove any excess dye Hail clean hat emergency processing is finally washed alone to gentle cycle, then air dry in order not shrink.
Setting the Dye
This is a crucial aspect to keep the colors of your tie-dye bucket hat vibrant and free from dullness. And how to fix the dye for good results:
1. Allow for Drying – While the dye has been applied let your bucket hat set in a dry place easily exposed to air, ideally 6-8 hours. For a more vibrant color, sponge it well with an ample amount of powder and let sit covered (in plastic wrap or ina ziplock bag) overnight. Then the warmth and dampness ofaid to bond a dye on deeper they peer with those textile fibers.
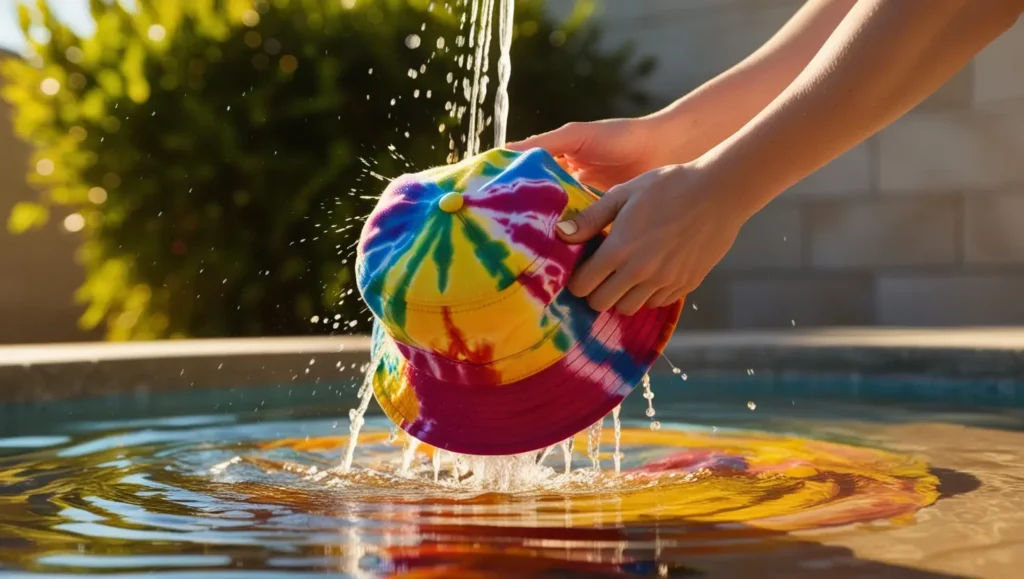
2. Rinse with Cold Water – Once the dye has set, remove your hat from its wrapping and rinse it under cold water until that water runs clear. This helps take any excess dye off and will exit out of the garment, reducing the risk of colors bleeding.
3. Machine Wash Separately – Put your hat in the washing machine on a gentle cycle with cold water and mild detergent. Wash separately from other clothes to prevent dye transfer. Avoid using fabric softener, as it will ruin the dye.
4. And Air Dry – To keep those colors as crisps and bright, give them a tumble in the dryer. Your best bet for drying the hat is to just lay it flat or hang dry in a cool, shaded area. Leaving it outside to dry in the sun will cause fading of colors, drying inside or at least in shade is best.

Rinsing and Washing Your Hat
Rinse and wash your tie-dyed bucket hat carefully once the dye has set. After washing, the ends of each item are simply rinsed in water to keep colors vibrant and from bleeding onto other items.
1. Cold Water Rinse – To begin, run cold water over your hat. Give it a nice rinse the old fashioned way under cold water running through it until all dye runs clear, while lightly squeezing excess out (without wringing which can stretch shape) It is a necessary step to wash off excess dye that did not bond fully with the fabric.
2. First Wash (Alone) – Put the Hat In Your Washing Machine On a Gentle Cold Cycle Wash with a very gentle detergent and do not wash these together on the first washing, as some residual dye can bleed. AND a fragile quick cycle works best to keep that fabric from fraying.
3. No Fabric Softener — Forget about fabric softeners, they fade the dye color and it breaks down the bond to dye. The residue left behind from the softener might also make it look less bright and less appealing.
4. The best thing you can do is to simply wash it by hand and then lay the cap flat down in shaded area so that it will dry. Sunlight can cause the colors to bleach, so try not to expose it directly under sunlight.
Customizing Your Tie-Dye Hat
Adding a unique touch to your tie-dye bucket hat can make it truly one-of-a-kind. After you’ve finished dyeing, consider adding some personalized details that reflect your style. Here are a few ideas for customizing:
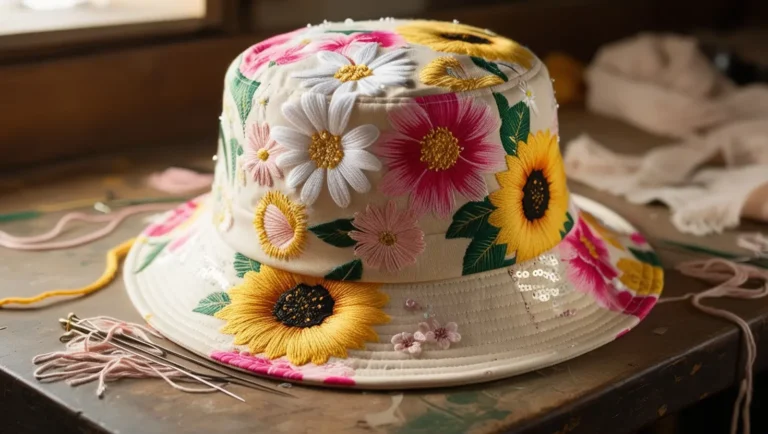
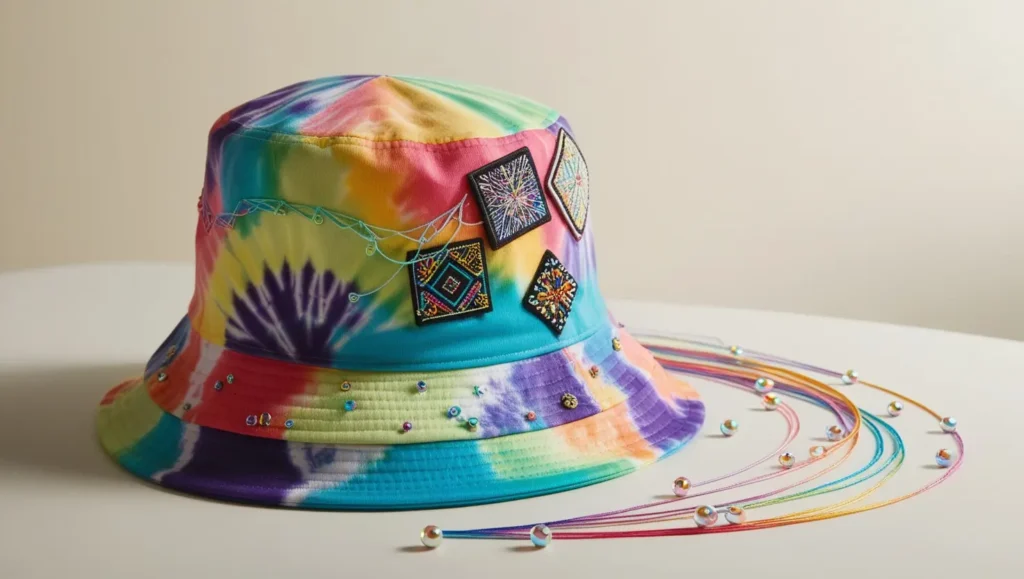
1. Embroidery – Adding hand embroidery or using an embroidery machine can give your hat a pop of personality. You could stitch a small design, your initials, or even add patches that align with the color scheme of your tie-dye. This is a great way to add texture and dimension to your hat.
2. Iron-On Patches – Patches are a quick and easy option to enhance the design. Look for patches that fit the theme of your hat—whether it’s a beach vibe, floral designs, or something retro. Iron them on carefully following the instructions to avoid any damage to the fabric.
3. Studs or Beads – For a bold, edgy look, try adding studs or beads around the brim or on the crown of your hat. These can be sewn on, and metallic accents work well with vibrant tie-dye colors, giving your hat a fun, festival-ready style.
4. Paint Pens – Fabric paint pens are perfect for drawing patterns, writing text, or adding small details. Use colors that complement your dye to avoid overwhelming the original design. A few small accents can elevate the look of your bucket hat without taking away from the tie-dye effect.
5. Bleach Designs – For an extra creative touch, use a bleach pen to add subtle designs or patterns on top of the tie-dye. Be careful with this technique, as bleach can alter the colors permanently. Small patterns or shapes, like stars or dots, can add an interesting contrast to the vibrant colors of your tie-dye.
Styling Your Tie-Dye Bucket Hat
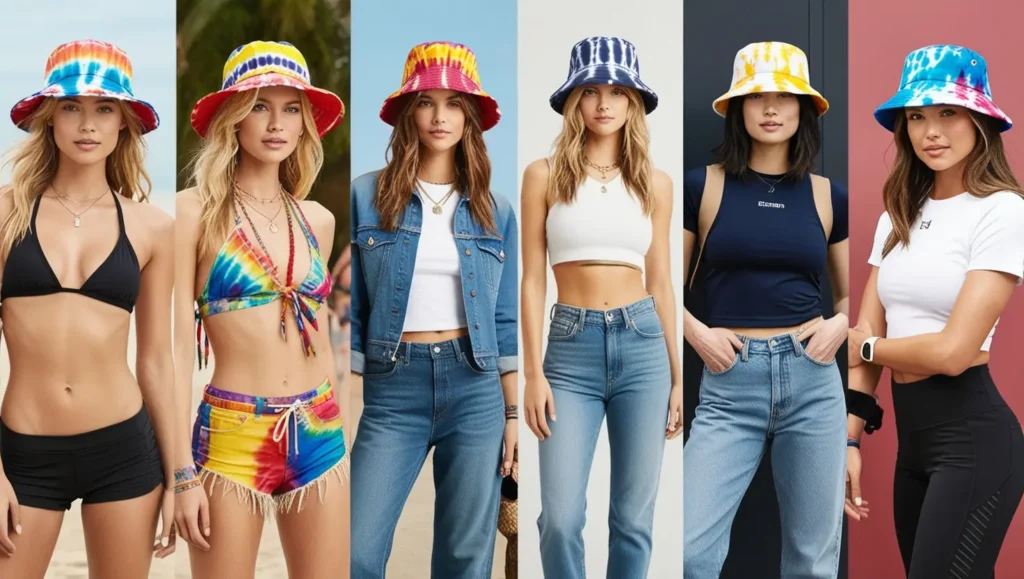
This tie-dye bucket hat is a statement accessory that will enhance most outfits — whether you saw your outfit as casual or wanted to make it bold and original. Here are some ideas for getting lots of mileage out of your colorful inspiration:
1. Festival Look – wear tie-dye hat with some boho get up going on to outdoor events or concerts. Floppy dresses, Aloha jackets and lots of bling. It embraces a cool and relaxed vibe, taking the less is more approach — letting your hat make an unequivocal statement.
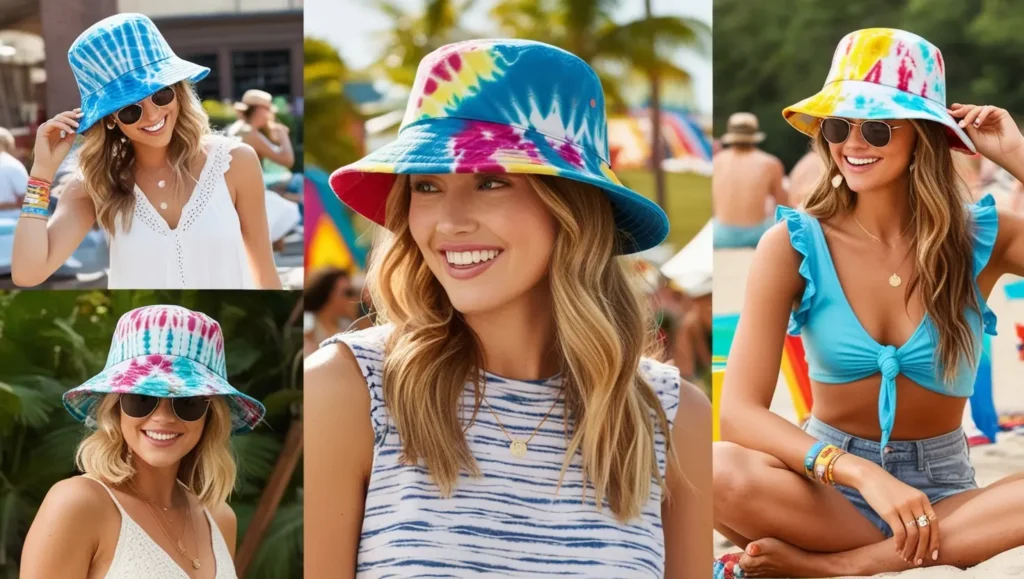
2. Beachwear – A tie dye bucket hat at the beach screams summer! Slip it on over your favorite swimsuit, or a sleeveless linen cover-up dress with UPF 50+ sun protection and top off the look with Beachwaver Tote to carry all the essentials needed for a day at sea.
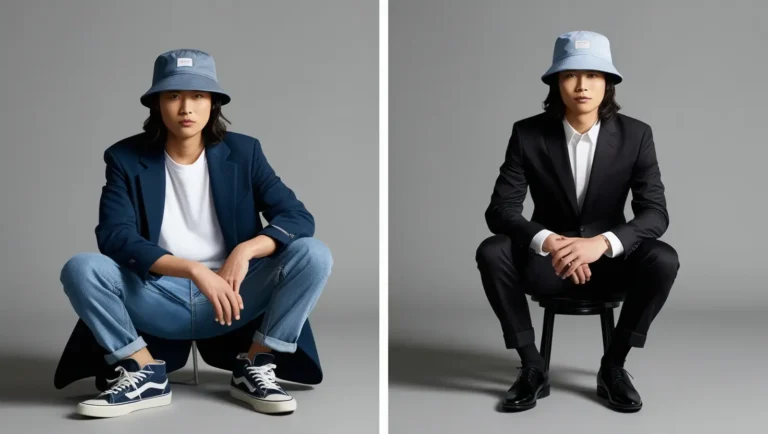
3. Street Style – You could also pair your tie-dye hat with denim jackets, oversized hoodie or even graphic tee for that more urban look. The colorful and radiant tie-dye can contrast neutral tones or bring extra oomph to a bold look!
4. Casual Day Out – For an everyday casual look, pair bucket hat with your favorite go-to jeans and a plain top. The colour of these kickers just scream summer – not too in your face, but sure to brighten up even the gloomiest day. A tie-dye pattern adds a touch of personality without going OTT so they’re perfect for if you’ve got yourself a chill few days with mates planned out.
5. Sporty Style – wear your hat with activewear if you want to go for a sportier look, feel free to add matching crop top and leggings or joggers. This silhouette is a great for casual, lazy days and just spices up your gym/athleisur
Common Mistakes to Avoid
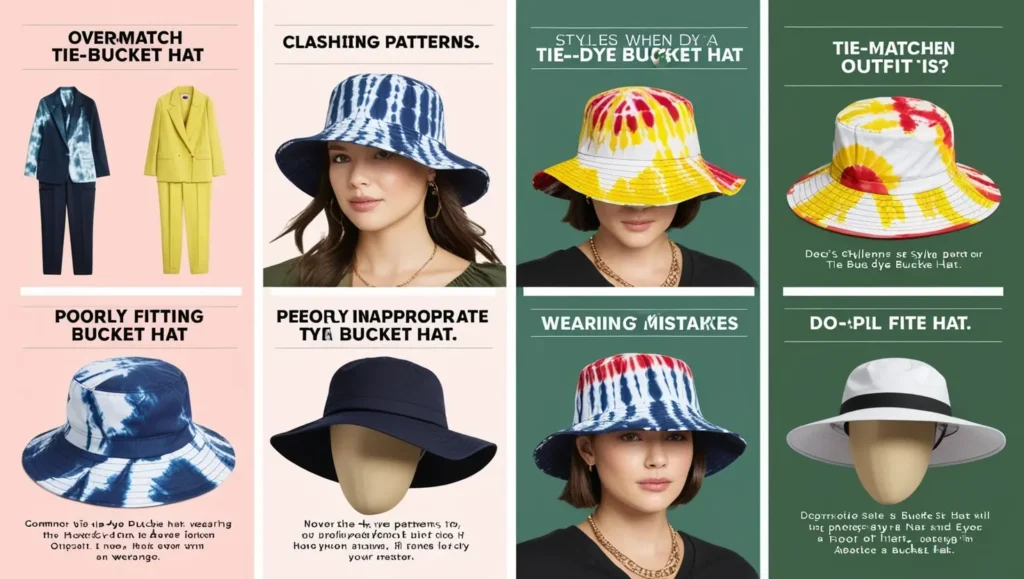
When it comes to styling your tie-dye bucket hat, there are a few common mistakes that can detract from your look. Here are some tips to ensure you avoid these pitfalls:
1. Overmatching – While it can be tempting to match your hat with your entire outfit, overmatching can make your look appear too coordinated and lose its playful vibe. Instead, let your tie-dye bucket hat be the standout piece by pairing it with solid colors or subtle patterns.
2. Ignoring the Occasion – A tie-dye bucket hat is fun and vibrant, but it may not be suitable for every occasion. Avoid wearing it to formal events or settings where a more subdued accessory would be appropriate. Always consider the dress code before styling your hat.
3. Choosing the Wrong Size – The fit of your bucket hat is crucial. A hat that’s too big can look sloppy, while one that’s too small may be uncomfortable. Make sure to choose a hat that fits well, complements your face shape, and stays secure during wear.
4. Clashing Patterns – Tie-dye is a bold and busy pattern. Pairing it with other loud prints can create a visual conflict. Instead, opt for neutral or subtle patterns that will complement your hat without competing for attention.
5. Neglecting Hair and Makeup – Your tie-dye bucket hat can draw attention to your face, so ensure your hair and makeup complement your overall look. Avoid styles that clash with the fun, laid-back vibe of the hat. Keep it simple for a balanced appearance.
Conclusion
So to conclude, this tie-dye bucket hat is no longer just your fun little add-on item; it has become a must-have in same ways as any other cliché article of clothing. Follow the quick tips we shared in this post and never be present without a bucket hat, no matter where you may go. Pick your dyeing process and test with color combos, then style a little somethin’ that best expresses you!
Whether you wear it casually or dress it up for a special event, your tie-dye bucket hat is sure to turn heads and express your creativity. Embrace the vibrant colors and playful patterns, and enjoy the process of making it your own!
Call to Action
Looking to create your own one-of-a-kind tie-dye bucket hat? Grab your supplies, and check out our tutorial on how to make yourself a trendy new peice of arbitrarily personalized jewelry! Make sure to show us your process along w the end hat on social media. Use the hash #TieDyeHat and show everyone what you can design!
We hope you enjoyed this tutorial, if so we have more DIY fashion tips make sure to subscribe bellow for new articles and exclusive offers! Take a look at the creativity of fashion and be inspired by your style!
