How to make a bucket hat
Introduction
A bucket hat is a timeless and versatile accessory that has made a huge comeback in recent years. Whether you’re looking to add a personal touch to your wardrobe or try your hand at a fun DIY project, making your own bucket hat is a great way to express your creativity. Not only is it stylish and functional, but it’s also relatively simple to create, even for those with basic sewing skills.
In this guide, we’ll walk you through the process of how to make a bucket hat from start to finish. Whether you’re a complete beginner or an experienced crafter, this step-by-step tutorial will help you create a custom bucket hat that fits perfectly and reflects your unique style. Ready to get started? Let’s dive in!
1. Materials You’ll Need
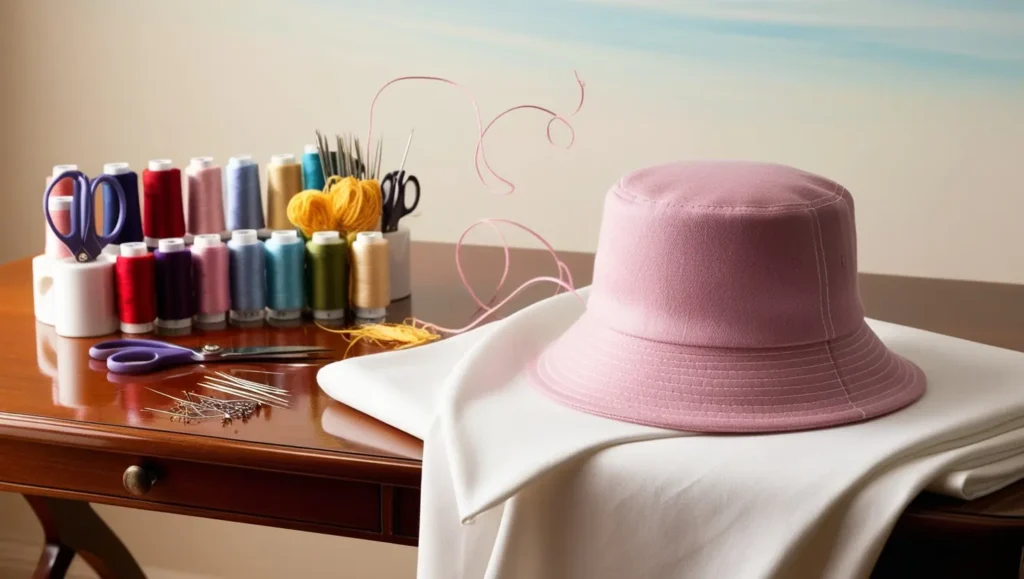
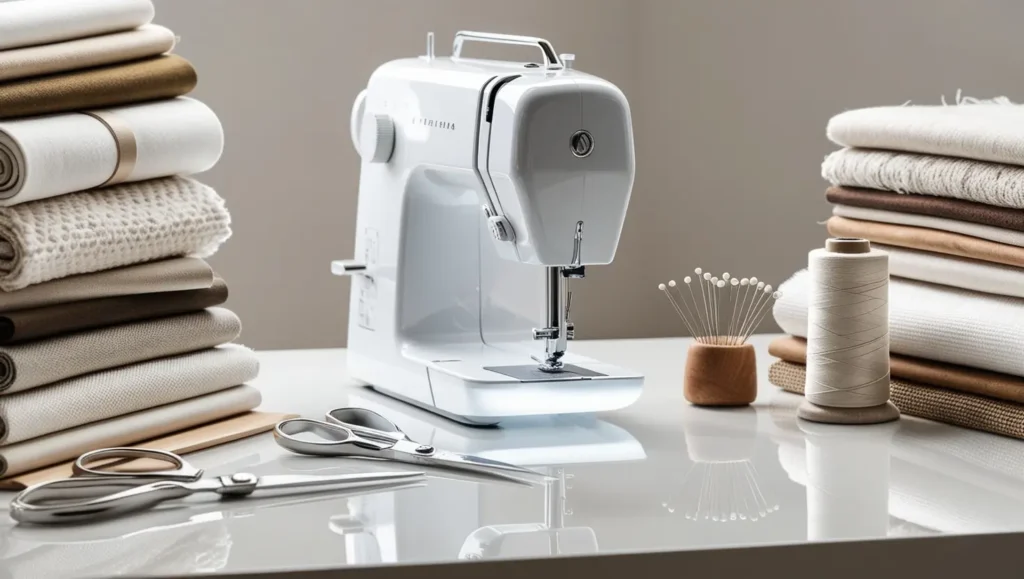
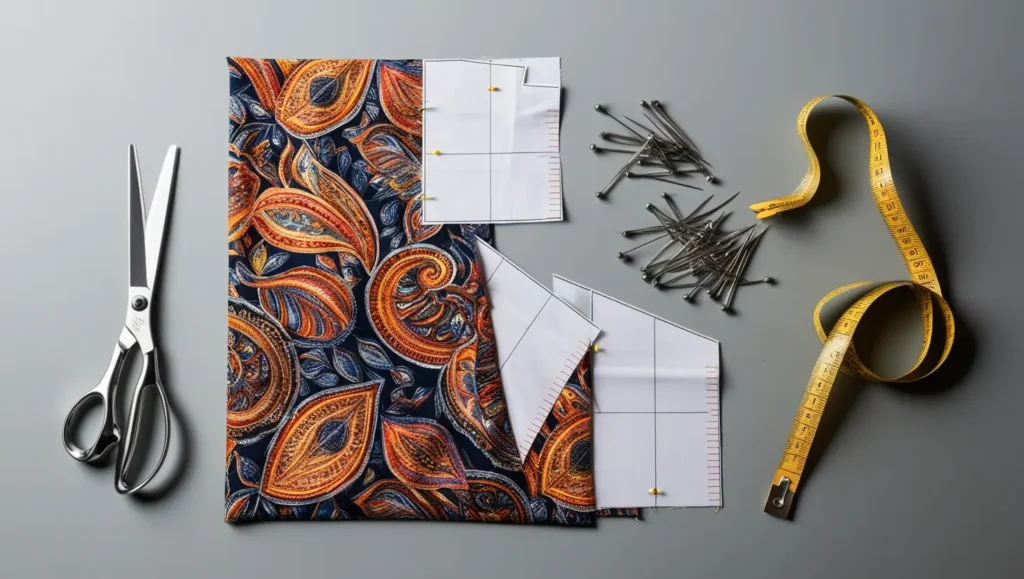
Before you start making your bucket hat, gather all the essential materials. Having everything prepared will make the process smoother and more enjoyable. Here’s a list of what you’ll need:
- Fabric: Choose a durable fabric like cotton, denim, or canvas. These materials hold shape well and are comfortable to wear. You’ll need around half a yard of fabric.
- Thread: Select a matching or contrasting thread depending on your design preference. Strong, durable thread is ideal for keeping the hat together.
- Scissors: Use fabric scissors to get clean, precise cuts.
- Measuring tape: This is crucial for taking accurate measurements and ensuring your pieces fit together properly.
- Pins: Keep your fabric pieces in place while sewing.
- Sewing machine or needle: A sewing machine will make the process quicker, but if you prefer hand-sewing, a sturdy needle will do the trick.
- Bucket hat pattern: You can either buy a pre-made pattern or create your own by measuring the crown, sides, and brim.
2. Choosing the Right Fabric
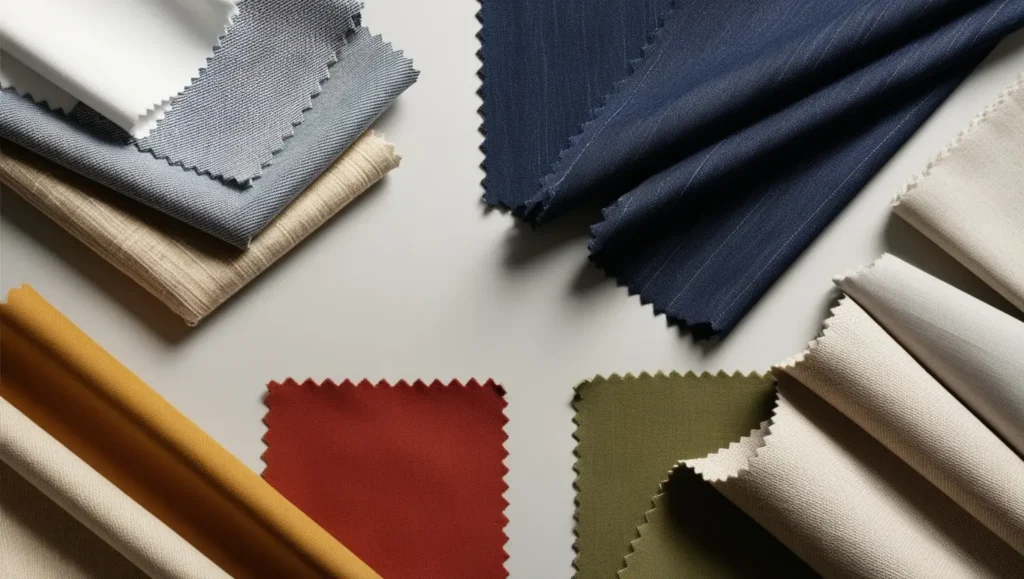
The type of fabric you choose is crucial in determining both the look and feel of your bucket hat. Depending on the season and style you’re aiming for, different fabrics can offer various benefits. Here are a few popular options:
- Cotton: This is one of the most popular choices for bucket hats. It’s lightweight, breathable, and perfect for summer or warm weather. Cotton fabric is easy to work with, making it a great choice for beginners.
- Denim: For a sturdier, more structured hat, denim is an excellent option. It gives a trendy, urban look and holds its shape well. Denim is ideal for fall or casual streetwear styles.
- Canvas: Like denim, canvas is durable and holds up in various weather conditions. It’s perfect if you want a tougher hat for outdoor activities like hiking or gardening.
- Linen: If you’re going for a more relaxed, breathable design, linen is a lightweight, eco-friendly fabric that’s great for spring and summer looks.
When choosing your fabric, consider how you plan to wear your hat. If it’s for outdoor use, durability and water resistance might be key. If you want a hat for fashion purposes, the texture and weight of the fabric will help define its style.
3. Cutting and Preparing Your Fabric
Once you’ve selected your fabric, it’s time to cut and prepare the pieces for your bucket hat. Accuracy during this step is key to ensuring that all the parts fit together perfectly. Here’s how to do it:
- Prepare Your Pattern: If you’re using a pre-made pattern, follow the instructions for cutting the crown, side, and brim pieces. If you’re creating your own pattern, you’ll need three basic pieces:
- Crown: This is the top of the hat, usually a circle. Measure the circumference of your head and adjust the size accordingly.
- Side Band: This forms the sides of the hat. It should be long enough to wrap around the crown and tall enough to give your hat the desired height.
- Brim: The brim size can vary depending on how wide you want it. A wider brim offers more sun protection, while a narrower one creates a more subtle look.
- Pin the Pattern to the Fabric: Once your pattern is ready, pin it to your fabric to prevent slipping while cutting. Make sure the fabric is flat and smooth before pinning to avoid mistakes.
- Cut the Fabric: Using sharp fabric scissors, carefully cut along the edges of the pattern. Take your time to ensure smooth, even cuts. Precision here will make sewing the pieces together much easier later on.
- Mark Important Areas: If your pattern includes any notches or guidelines, make sure to mark them on your fabric. These marks will help you align the pieces when you begin sewing.
By cutting your fabric carefully and accurately, you’ll set the foundation for a well-fitted and neatly sewn bucket hat.
4. Sewing the Hat Together
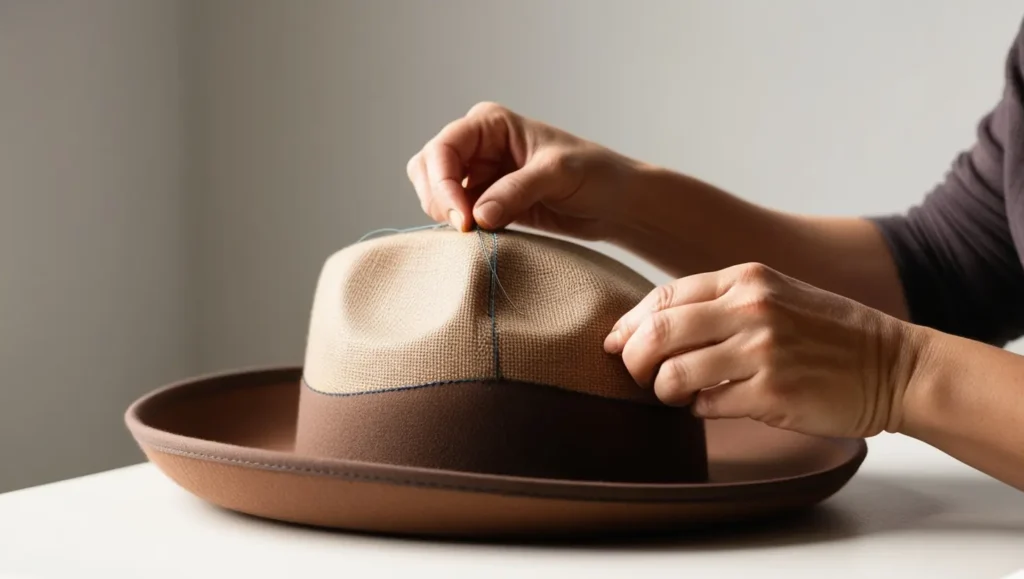
Now that your fabric pieces are cut, it’s time to start sewing your bucket hat. This part requires patience and attention to detail, but by following the steps carefully, you’ll have a professional-looking hat in no time.
- Sew the Crown and Side Band:
Begin by sewing the side band to the crown of the hat. Place the right sides of the fabric together and pin the edges securely. Using a sewing machine or a needle, sew along the pinned edge, leaving a small seam allowance (about ¼ inch). Go slowly to ensure an even stitch around the circular edge. Once finished, you should have a basic hat shape with the crown and sides attached. - Sew the Brim:
Next, sew the brim to the bottom of the side band. Again, place the right sides together and pin the brim around the edge of the side band. Sew carefully along the edge, ensuring the fabric stays smooth and doesn’t bunch up. This part can be a little tricky, so take your time to align everything properly. - Finishing the Edges:
To give your hat a clean, professional finish, you’ll need to finish the raw edges. You can use a serger if you have one, or simply fold the fabric inward and sew a narrow hem. This step will prevent the fabric from fraying and give the hat a polished look. - Topstitching (Optional):
For a more durable and stylish finish, you can add topstitching around the brim. This involves sewing a few rows of visible stitches around the outer edge of the brim. It not only reinforces the brim but also adds a decorative touch. - Iron the Seams:
Once all the pieces are sewn together, carefully iron the seams to ensure everything lays flat. This will help the hat hold its shape and give it a more finished look.
By following these steps, your bucket hat should start taking shape. Sewing the pieces together requires careful alignment, but the result will be a sturdy, well-constructed hat that’s ready to wear.
5. Adding Custom Details and Finishes
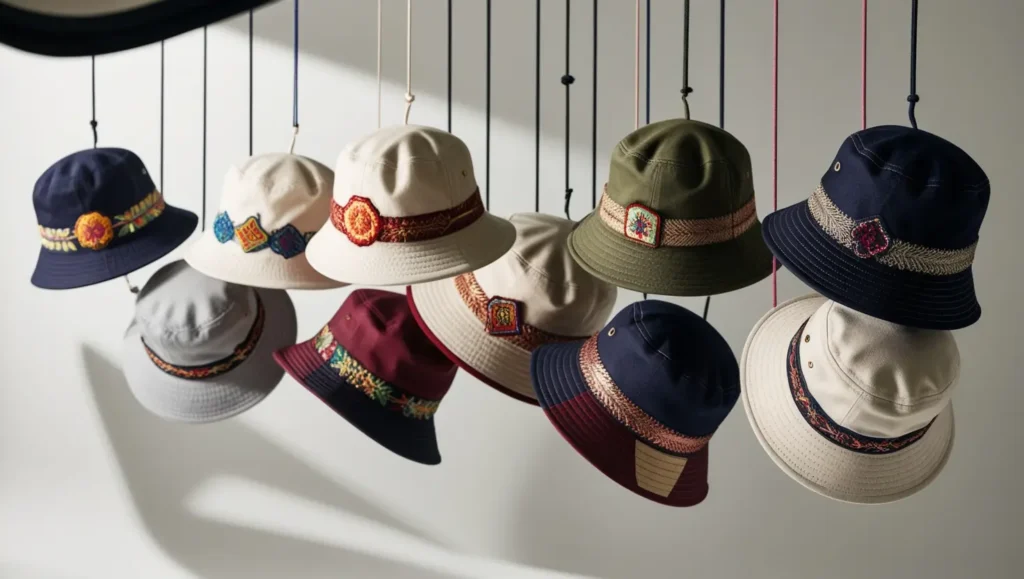
Now that your bucket hat is sewn together, it’s time to get creative with some custom details and finishing touches to make it uniquely yours. This is where you can really showcase your personal style and elevate the look of your hat.
- Add a Lining:
If you want to make your hat more comfortable or give it a polished interior, consider adding a lining. Use a soft fabric like cotton or linen and cut out the same pattern pieces as the outer fabric. Sew the lining separately, then attach it to the inside of your hat with an invisible stitch for a clean finish. - Embroidery or Patches:
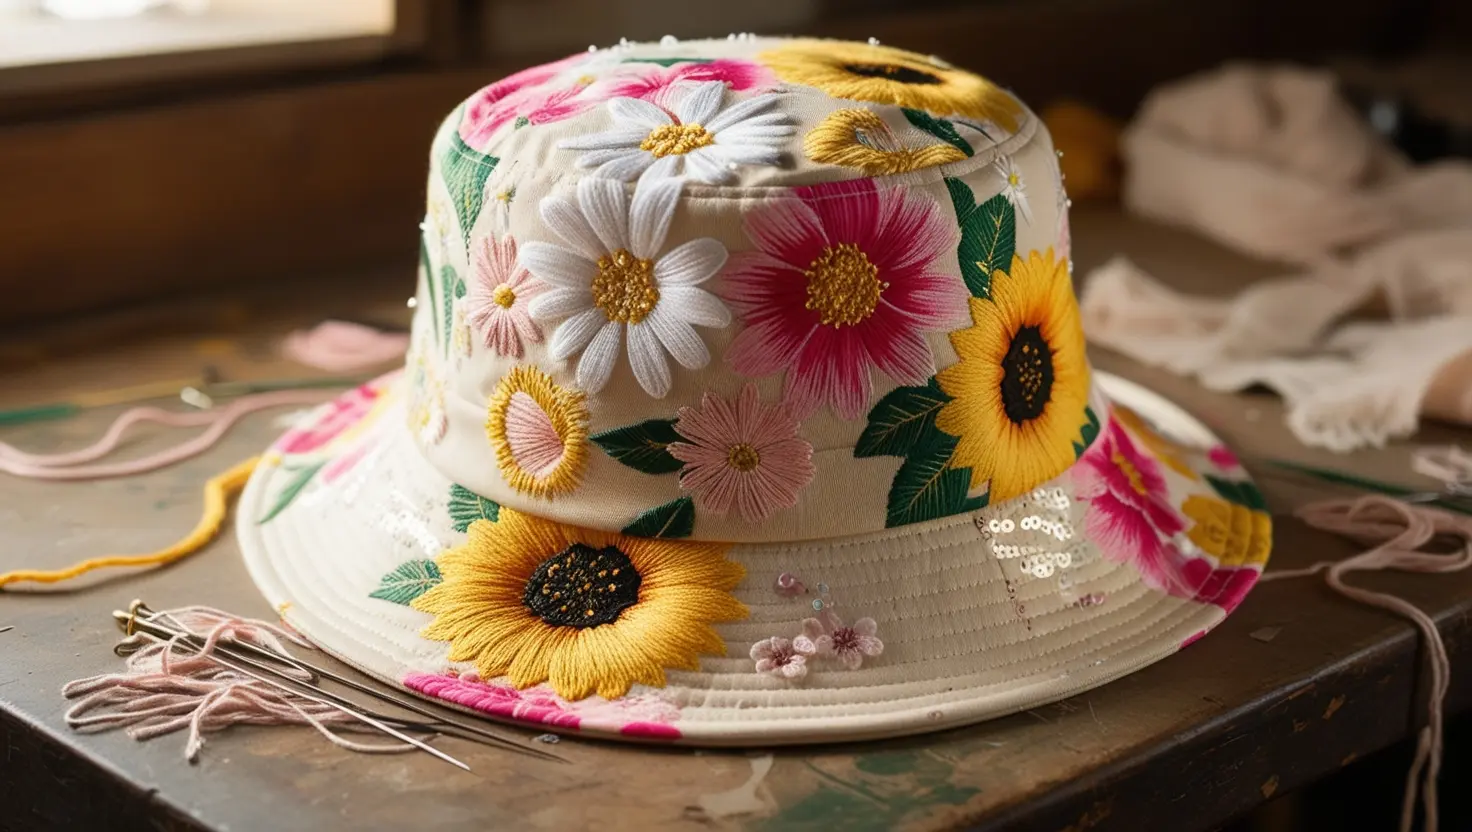
For a more personal touch, you can embellish your bucket hat with embroidery or iron-on patches. Whether it’s your initials, a favorite symbol, or some artistic stitching, this customization will make your hat one-of-a-kind. Embroidery adds a handmade feel, while patches can give it a cool, vintage vibe. - Decorative Stitching:
Consider adding decorative topstitching around the brim or along the side band. You can use a contrasting thread color for a bold look or a matching thread for a subtle detail. This not only enhances the design but also reinforces the structure of the hat. - Add a Strap or Drawstring:
If you want a more functional design, especially for outdoor activities, consider adding an adjustable strap or drawstring. This is perfect for keeping the hat secure in windy conditions or adding a playful touch to the design. - Paint or Dye:
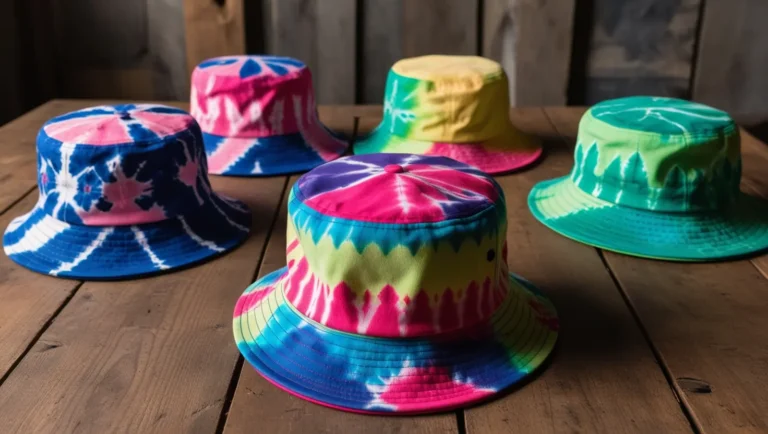
Another way to make your bucket hat stand out is by using fabric paint or dye. You can create fun patterns, like tie-dye or abstract designs, or simply dye the entire hat a different color. This adds a creative and artistic element to your design. - Add a Wire to the Brim:
If you want to shape the brim of your bucket hat, you can insert a thin wire around the edge. This allows you to bend and style the brim to your liking, whether you want a flat, wide brim or something more curved.
By incorporating these custom details, you can take your bucket hat from basic to bold. The sky’s the limit when it comes to personalization, so don’t be afraid to experiment with different embellishments and finishes.
6. Common Mistakes to Avoid
When making a bucket hat, there are a few common mistakes that beginners often encounter. Being aware of these potential pitfalls will help you avoid frustration and ensure your final product looks polished and professional.
- Incorrect Measurements:
One of the most important aspects of making a bucket hat is getting the measurements right. If the crown or brim pieces are too large or too small, the hat won’t fit properly. Always double-check your measurements before cutting your fabric to avoid wasted material. - Cutting Fabric Incorrectly:
Cutting your fabric in the wrong direction or on a slant can cause the hat to lose its shape. Make sure to cut along the grain of the fabric and ensure your pieces are cut symmetrically. This will prevent any distortion when sewing the pieces together. - Misaligning the Brim:
Attaching the brim to the side band can be tricky, especially if you’re not careful with alignment. Ensure that the edges of the brim and side band match up perfectly before sewing. Pin the pieces securely and take your time to sew evenly around the brim. - Skipping Ironing:
It might be tempting to skip the ironing step, but this can make a big difference in the final look of your hat. Pressing your seams flat as you go will help the fabric lie properly and give your hat a more professional finish. - Using the Wrong Needle or Thread:
Different fabrics require different types of needles and threads. For example, using a standard needle on thicker fabrics like denim or canvas can cause skipped stitches or broken threads. Make sure to use a strong needle and the right thread type for your fabric. - Not Finishing the Edges:
Failing to finish the edges of your fabric can lead to fraying and a less durable hat. Be sure to either use a serger or fold and hem the raw edges to keep the fabric intact and extend the life of your hat.
By avoiding these common mistakes, you’ll be well on your way to creating a bucket hat that’s not only stylish but also well-made and durable.
7. How to Style Your Bucket Hat
Now that you’ve successfully made your bucket hat, it’s time to explore how to style it! A bucket hat is a versatile accessory that can enhance various outfits, whether you’re aiming for a casual look or something more polished. Here are some stylish ways to incorporate your bucket hat into your wardrobe:
- Casual Streetwear:
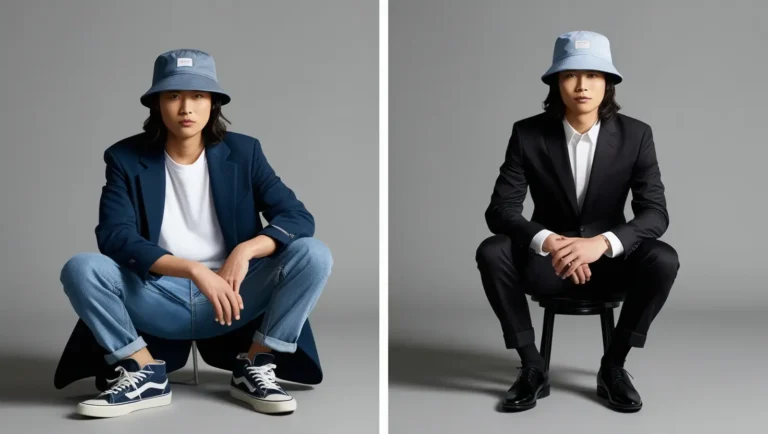
Pair your bucket hat with jeans, a graphic t-shirt, and sneakers for a laid-back, street-style vibe. Opt for bold patterns or colors in your hat to make a statement. This look is perfect for weekend outings or casual hangouts with friends. - Summer Vibes:
For a summer outfit, wear your bucket hat with shorts and a tank top or crop top. Lightweight fabrics and bright colors are great choices for hot weather. Don’t forget to accessorize with sunglasses and flip-flops for that perfect beach look. - Sporty Chic:
If you’re going for an active look, combine your bucket hat with athletic wear, like leggings and a sports bra or joggers. This ensemble is not only comfortable but also functional for outdoor activities, such as hiking or picnics. - Layering for Fall:
In cooler weather, layer your bucket hat with a denim jacket or a lightweight trench coat. Pair it with high-waisted pants and ankle boots to create a chic autumn look. Choose earth tones or muted colors for your hat to match the season. - Dress It Up:
Don’t be afraid to dress up your bucket hat! Combine it with a flowy dress or a maxi skirt for a stylish contrast. A solid-colored bucket hat can add a touch of elegance to a more formal outfit, making it suitable for events like brunch or outdoor gatherings. - Accessorizing:
Accessories can elevate your bucket hat look. Try adding layered necklaces, a statement belt, or bold earrings to draw attention to your ensemble. Consider coordinating the colors of your accessories with your hat for a cohesive look. - Seasonal Patterns:
Embrace seasonal themes with your choice of fabric and prints. Floral patterns work beautifully in spring, while plaid or houndstooth can bring a cozy touch in the fall and winter. Adapt your bucket hat’s style to reflect the season for added flair.
By exploring these styling options, you can showcase your handmade bucket hat in various settings, allowing it to shine as a versatile piece in your wardrobe.

Conclusion
Creating and styling a bucket hat is a rewarding and fun project that allows you to express your personal style. From choosing the right fabric and cutting your pieces to sewing and adding custom details, each step brings you closer to a unique accessory that can elevate any outfit.
Whether you prefer a casual look for everyday wear or something more polished for special occasions, your bucket hat can seamlessly fit into your wardrobe. The versatility of this accessory makes it suitable for all seasons, allowing you to experiment with different styles, fabrics, and embellishments.
As you venture into the world of sewing and styling your bucket hat, remember to embrace creativity and enjoy the process. Don’t hesitate to explore various patterns and colors to make your hat truly your own. With a little practice and imagination, you’ll have a fabulous bucket hat that you can wear proudly, showing off your crafting skills and fashion sense.
So, gather your materials, get sewing, and let your bucket hat journey begin!

Call to Action
Ready to embark on your own bucket hat journey? Whether you’re a seasoned sewer or a beginner looking to try something new, now is the perfect time to create a stylish accessory that reflects your personal flair.
Get started today by gathering your materials and following the steps outlined in this guide. Don’t forget to share your creations with friends and family, and inspire them to join in on the fun!
If you’re looking for high-quality fabrics, sewing supplies, or unique patterns, check out our online store Your Bucket Hat for everything you need to bring your vision to life. Plus, join our community to stay updated on new styles, tips, and tutorials!
Let your creativity shine—make your own bucket hat today and show off your unique style wherever you go! We can’t wait to see what you create!
